Problem
Booking your work time has been always considered as a boring activity to do, you need to remember all the breaks which you took during the work day considering all kind of different tasks related to various types of projects you worked on, furthermore having an internet connectivity is required in order to accomplish this task.
Solution
We thought about how to facilitate time booking activities, how to make such work as simple as it can get?
We came up with an idea of developing a time booking app, which can help us reaching our goals of facilitating our employees’ life while booking their work time, adding new features such as auto time booking, offline time booking is some of what we provided newly in this app.
Technology Stack
Considering the fact that the app should work natively in both Android as well as IOS devices and taking into account the limited development time as well as our modest knowledge with IOS apps development, we come up with the idea of choosing Xamarin.forms as main part of the technology stack; because it sounds promising to develop cross-platform apps and share certain components between them to reduce code duplication and save our time.
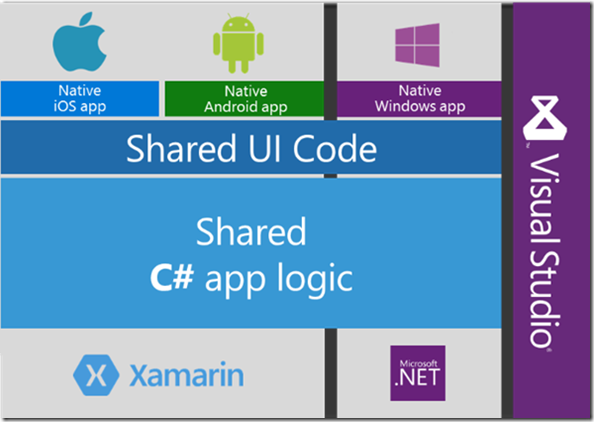
There are many Blogs and articles talking about the reasons of why you should use Xamarin.forms in order to write a cross platform apps that can answer many related questions, I listed some of them below:
5-reasons why xamarin is better cross-platform mobile development framework/
In this blog I will focus on the app structure and the features provided within it.
App code Structure
 From Visual Studio IDE we have created a normal Mobile app (Xamarin.Forms) project and named it TimeReport. The generated project contains 3 main packages.
I will go throw each of them in details in the following.
TimeReport package
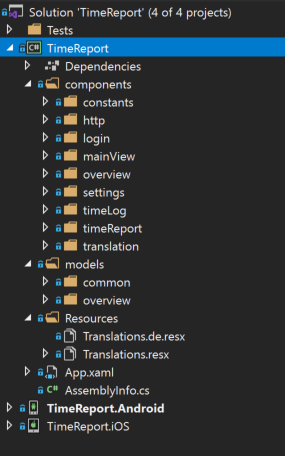
This package includes the main parts of Time Report app code. We divided the classes and files into three main sub package
Components:
Here we’ve included one package for each app page or functionality, such as login, overview, settings
Models:
This sub package includes the common classes, which are used, called in many places; to increase the code reusability and decrease code redundancy.
Resources:
As our app should support both English and German language, we’ve created two recourse files accordingly. Each of those files includes data in Key-Value format to serve language switching purpose.
TimeReport.Android package
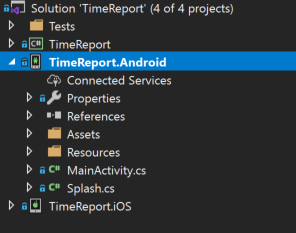 This package includes the android specific code, configurations and files. We added here some configurations and imported the android related image files.
TimeReport.iOS package
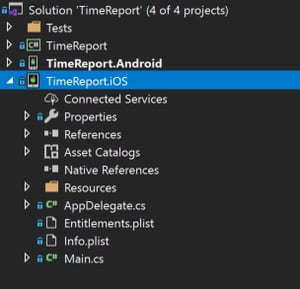 As mentioned for TimeReport.Android, this package includes the IOS specific code, configurations and files. We did the same of adding some configurations and imported the IOS related image files.
Pages and new features
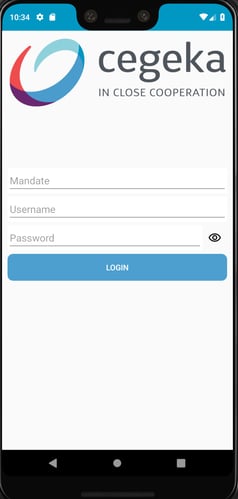
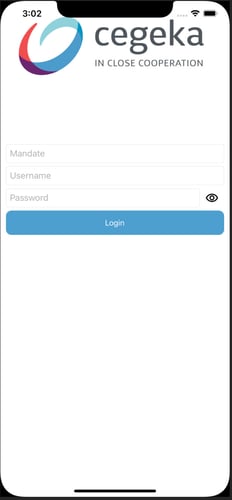
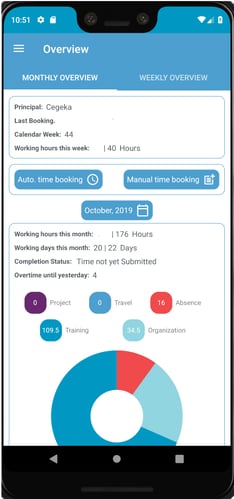
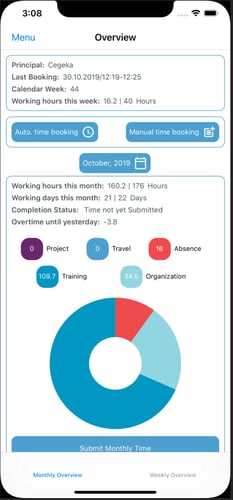
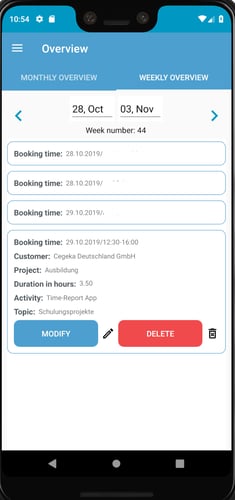
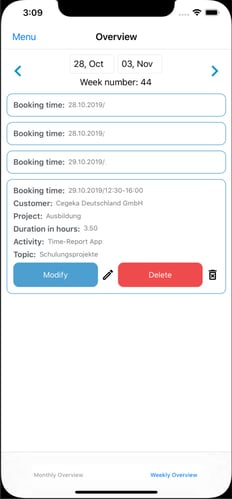
Here I will include screen shots of the different pages in both Android and IOS version, and I will provide some more details about the newly added features.
Online mode (internet mode):
In this mode the user will have the opportunity to experience all kind of the provided functionalities.
Login page:
Main menu:
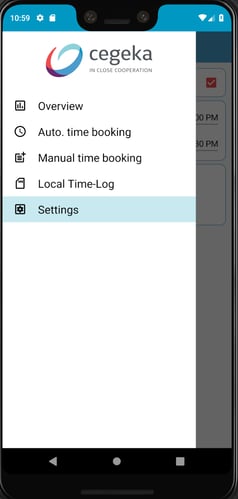
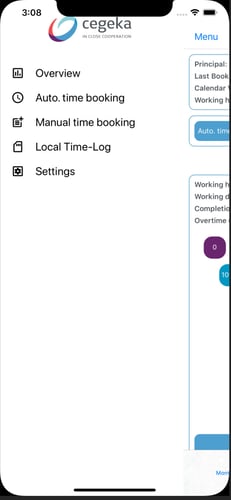
Monthly overview page:
Weekly overview page:
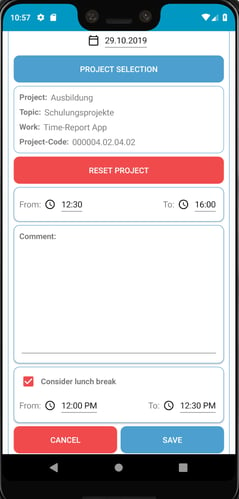
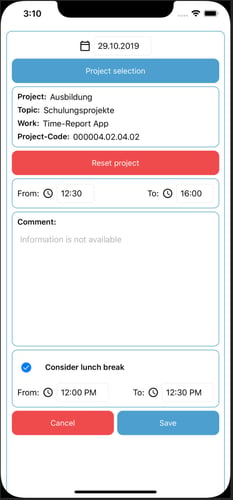
Modify booking page:
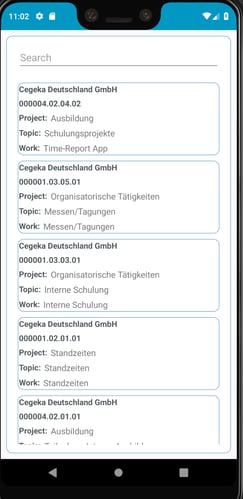
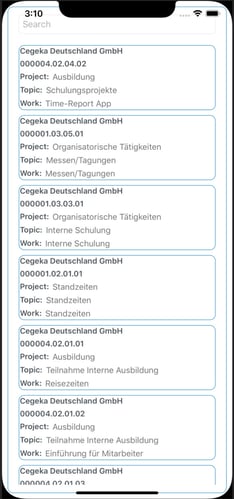
Project selection:
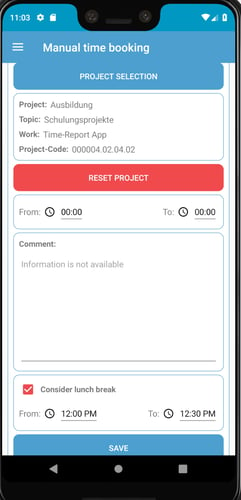
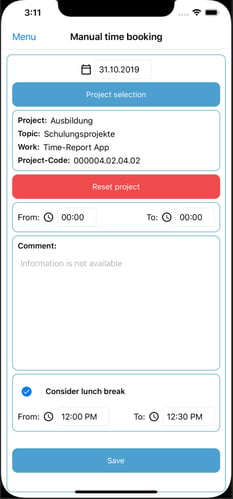
Manual time booking page:
Auto time booking (new feature):
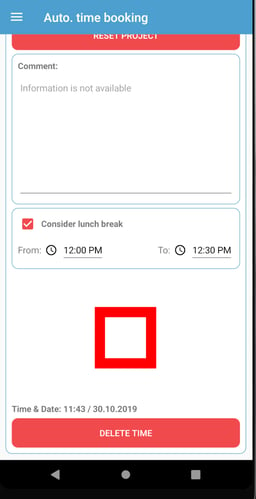
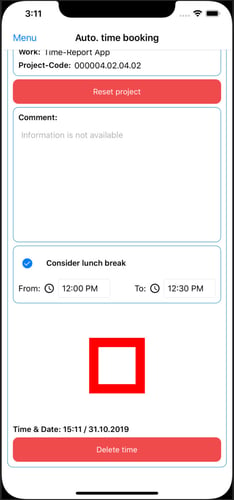
You only need to select the project (mandatory in online mode) fill out some other fields(optional), the next step will be to click on the record button, this will trigger time recording in the background.
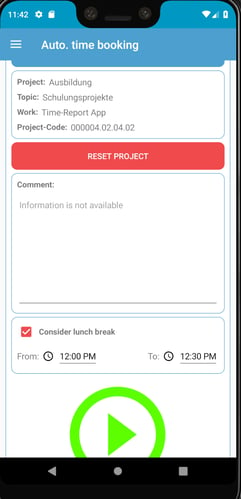
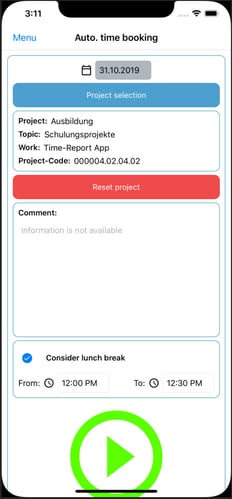
As soon as you finish working on a task, click on stop button, and one-time booking will be processed and send to time server. As you notice, this makes the time booking process more precise and easier.
Local Time-Log page:
This page contains the time booking logs for the bookings done in the offline mode.
Those booking logs should be modified (selecting the related project at least) in order to finalize the booking activity.
We will get more details about it in the Offline mode section of this blog.
Settings page:
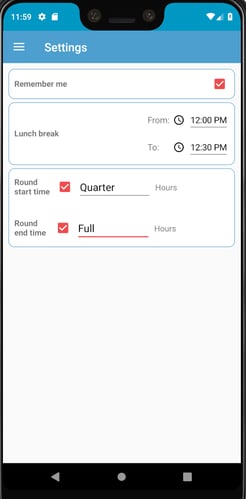
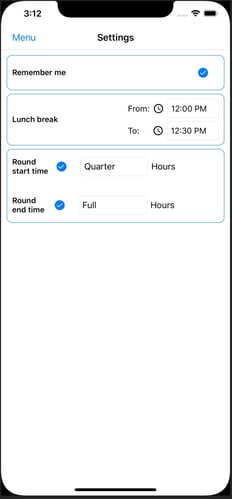
In this page we’ve enabled the user of configuring some parameters like
- Remember me: when this check box is checked, the user does not need next time to enter his credentials in order to log in
- Lunch break time
- Rounding(new feature): we’ve added this feature as in some projects they do not accept times like 13:24 as valid booking time, rather than that they only accept a time such as 13:15 (Quarter) or 13:30(Half) or 13:00(full). For fulfilling this purpose we have enabled the user to configure it for both start time as well as end time. Here it’s important to mention that the user has the choice of enabling or disabling this feature from the settings page.
Offline mode (new feature)
Offline mode recognizing:
When the user starts the time report app, it checks the internet connectivity, and if no connectivity found it shows the user one internet connection info message.
The offline mode will be activated accordingly.
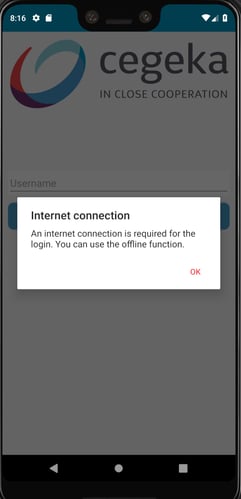
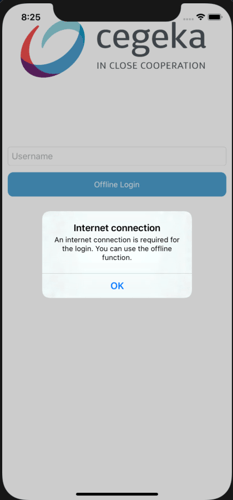
Login Page:
Instead of selecting the participant, username and password, the user is required only to enter his contraction (username in this case).
This field will enable the user afterwards to finish his booking activities as soon as he logs in to the active mode.
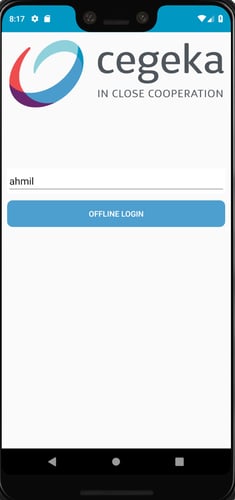
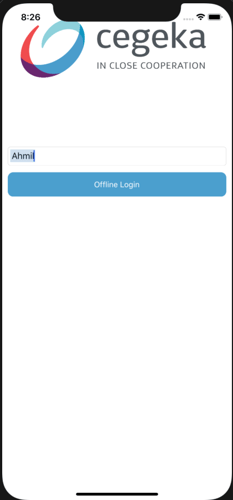
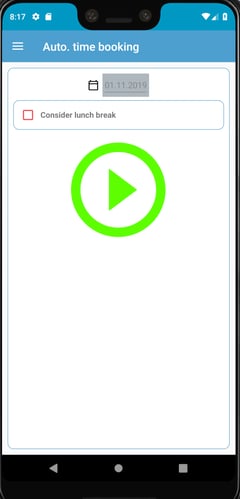
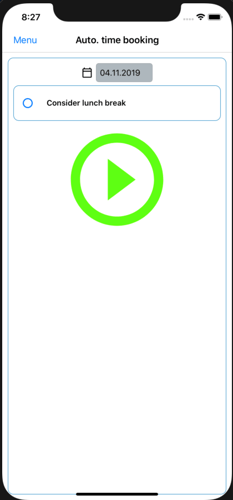
Automatic Booking page:
Clicking on the login button, the user will be forwarded to the automatic booking page instead of monthly overview page in the online mode.
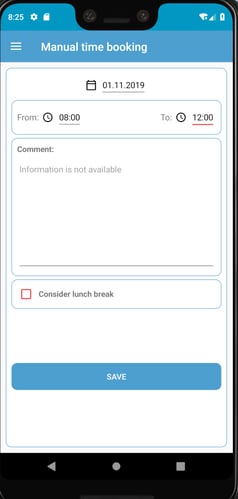
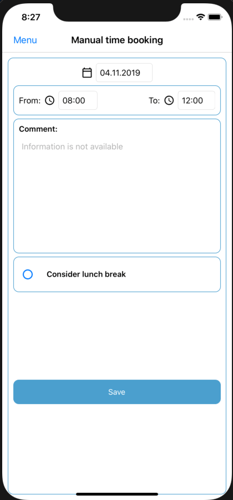
As there is no active connection to time server in this mode, it’s not possible to fetch the projects list for each user. For this reason, there is no project selection needed in this mode for both auto and manual booking.
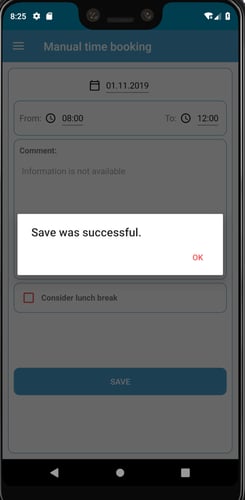
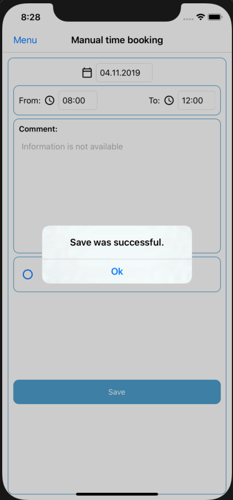
Manual Booking Page:
Local time-log page:
After a successful booking, one new time log will be shown in the time-log page. From this page the user will have the ability to either delete or modify the time log.
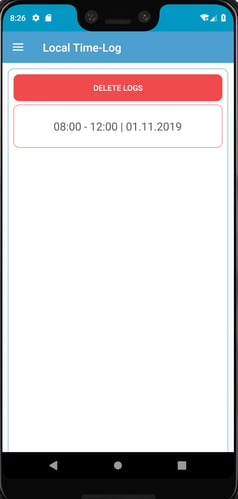
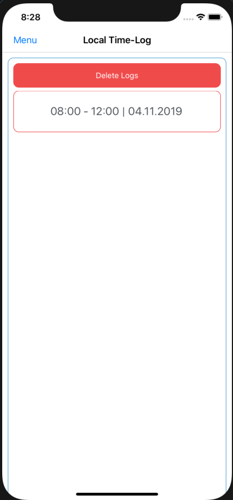
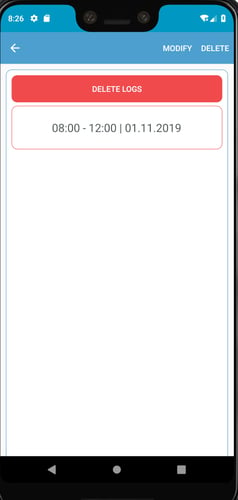
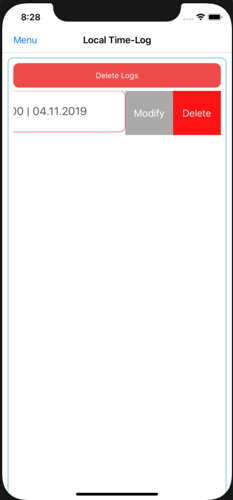
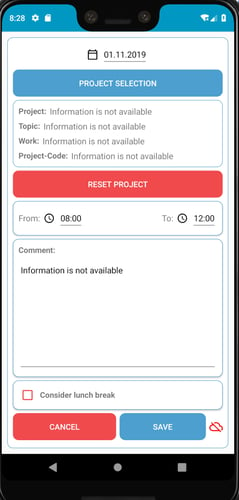
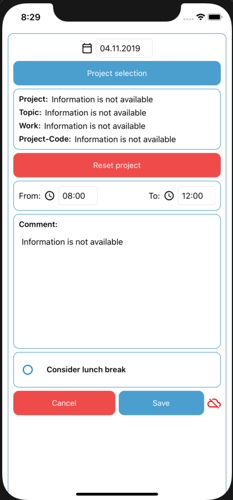
Opening the corresponding time log for modification, the normal booking modify page will be opened with some differences from the online mode, as there will be no project info available and the offline mode symbol will be shown in the bottom left side of the page.
Summary:
In this blog I explain the idea behind time report app, technology stack used, and all the features included within IT supported with some screenshots.
It is worth to be mentioned that we integrated also our source code with CI/CD pipeline for continuous building and testing purpose. This will be explained extensively in a separate blog coming soon 😊

